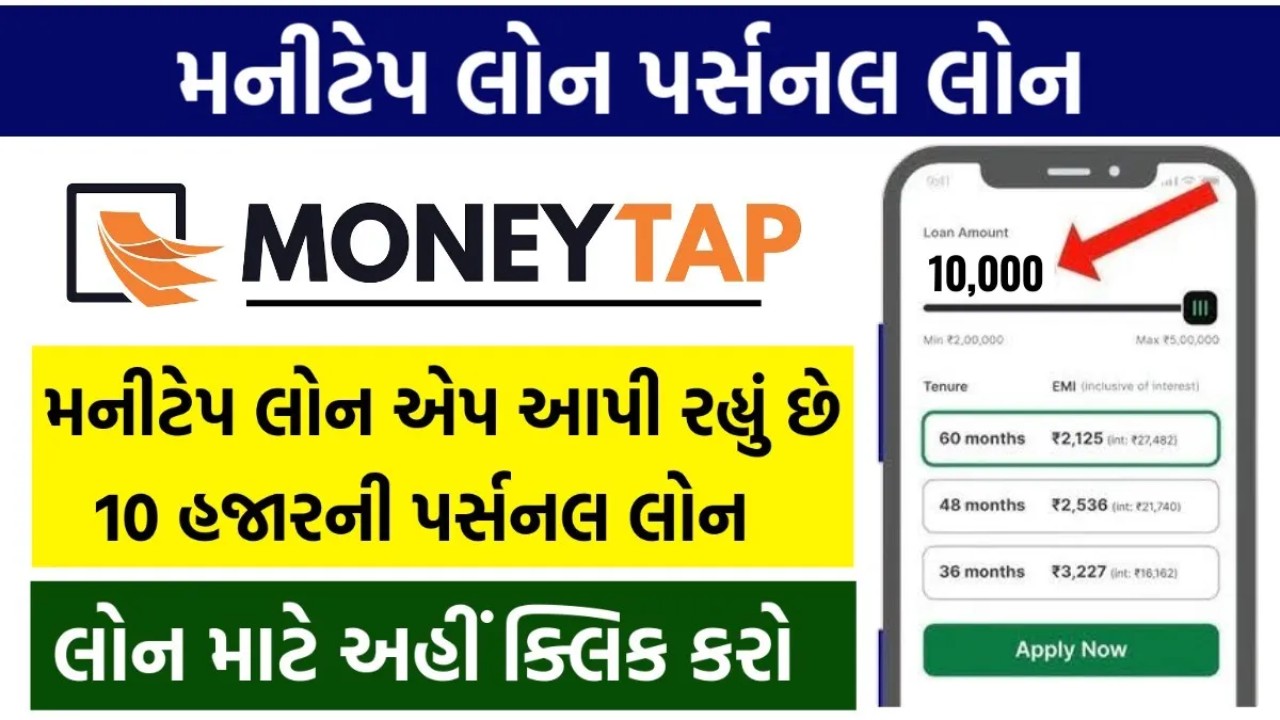
MoneyTap Prosonal Loan App: If you are thinking of taking a loan, let us tell you that through this platform you can get a loan from ₹10,000 to 5 lakhs at an interest rate ranging from 12% to 36%. It is a platform which provides loan related information and also gives loans.
Important information regarding 10000 loan from MoneyTap
To take a loan of ₹10,000 from MoneyTap, you can check the following key points to know how much interest rate and EMI you can pay on a loan amount of ₹10,000 and for how long you can take the loan? Apart from this, you will also get other information, pay special attention to the key points given.
- Loan Amount:- MoneyTap loan app provides loan of minimum ₹10000 and maximum of ₹5 lakh, so you can easily get loan of ₹10000 with the help of this app.
- Interest Rate:- A minimum interest rate of 12% and a maximum of 36% has to be paid on the loan amount obtained through MoneyTap Loan App. According to this, a minimum interest rate of ₹1200 and a maximum of ₹3600 has to be paid on a loan of ₹10000.
- Tenure:- Generally, you will get a minimum of 3 months and a maximum of 36 months to repay the loan amount with the help of this app and your EMI will be decided accordingly.
- CIBIL Score:- If you are considering taking a loan through MoneyTap app, your CIBIL score should be more than 600.
- Processing Fee:- When you complete the loan application process through this MoneyTap app, to get that loan, you have to pay a charge of 2% to 3.75% as processing fee.
- Loan Approval Time:- After completing the loan application process through the MoneyTap app, your loan can be approved within a maximum of 24 hours.
Loan application process from MoneyTap
To take a loan of 10000 rupees with the help of Money Tap app, first of all you have to download this app from the Google Play Store, then you can easily apply for a loan of 10000 rupees from Money Tap app by following the steps given below. You can get an amount of Rs.
- Click on Get Started: When you download and open the MoneyTap app, you will get some introduction, then go to the end and there you will get the option of Get Started, then click on that Get Started option.
- Select Sign Up Option: When you click on the Get Started option, you will get 3 options to sign up, Google Account, Facebook Account and Mobile Number, then select the option through which you want to create an account.
- Enter Mobile Number: If you select mobile number from the above 3 options, this can be the easiest way to register, then after selecting, you have to enter the mobile number and click on verify number option, from which you will get OTP will be received. , then you verify that OTP.
- Apply Now: After signing up, you will find the option of Apply Now on its home page, then click on the Apply Now option to start the loan application process.
- Allow Permissions: After clicking Apply Now, you have to give some permissions to this application to start the loan application process, so to allow the application, click on the Allow option and allow the permissions.
- Credit Line: When you give the permission, after this you will get 2 options to apply for the loan, so you can choose any option as per your choice, but usually for taking a loan of ₹10000, you will see the option of credit line.
- Enter Personal Details: After completing the above process, you will go to a new page, where you have to enter some of your important details, then enter the required details and proceed after submitting it.
- Show My Credit Limit: After giving information about personal loan, you will get show my credit limit option, by clicking on it you can see how much loan you can get, then you have to complete this process.
- Check Interest Rate and Charges: If the eligible loan amount through the Money Tap Loan application is more than the required loan amount, you can change the loan amount by clicking on the Interest Rate and Charges check, then change it as per your choice.
- Select EMI and Tenure: After changing the loan amount by clicking on Check Interest Rate and Charges option, you will get EMI, Tenure option, then select EMI and Tenure as per your choice and click on the option that appears.
- Complete your profile: Once you have selected the EMI and tenure, you have to complete the profile, so click on Complete your profile option and fill the asked information correctly.
- Complete your KYC: After you complete the profile, you don’t need to complete the KYC process, so first you have to take a selfie and upload it and then you have to verify your Aadhaar number.
- Verify Your Address: After completing this process, you have to verify your address, for this you will receive an OTP on the mobile number linked with your Aadhaar card, then enter that OTP and verify your address as well.
- Upload Documents: After completing this process, you will reach the option of upload documents, in which you will have to upload your Aadhaar card photo first, then you will upload the photo of other required documents like PAN card.
- Enter Bank Details: After uploading the documents, you will go to a new page where you have to provide the bank details, then provide the bank details of the bank from which you want to get the loan amount.
- Get Loan: After completing all the above procedures, the loan applied by you will be checked and when it is fully verified, it will be quite easy.
